EPDM Roofing for Commercial Buildings in Tracy, CA
Roof Systems
Document EPDM membrane seams, attachment, flashing, drainage, and repair scope on commercial roofs in Tracy before choosing a recover or replacement.

Document EPDM membrane seams, attachment, flashing, drainage, and repair scope on commercial roofs in Tracy before choosing a recover or replacement.
A curled lap beside a curb can be a seam issue, a flashing failure, or a movement problem at the curb itself. We mark the edge of the opening and the path below it before choosing the EPDM repair method. A dark membrane does not reveal whether the sheet is adhered, mechanically held, or ballasted. The assembly record and a controlled inspection keep the repair scope tied to what the roof actually contains.
Tracy's criteria identify a summer design high and place the city in Climate Zone 12. That is useful context for planning material storage and checking current installation conditions, not a measurement of a roof surface. Before selecting adhesive, seam tape, or a replacement sheet, we compare the membrane and substrate with the product instructions. Infrared readings may direct authorized checks on a suitable assembly, but they do not establish moisture beneath a different build-up by themselves.
Trace the existing layers from the field to each edge. Look for ballast, plates, cover board, insulation joints, and prior recover work at roof openings or accessible transitions. Mark where the construction changes and record any exposed deck only where an authorized opening confirms it. Older bids can omit later work. Mark each roof zone with the layer count actually confirmed, and keep an unresolved area distinct instead of extending one opening's result across the roof.
The city's industrial planning areas include manufacturing, warehouse, distribution, rail-dependent, and flex-tech uses. One commercial property can contain distinct operating spaces; drawings and field checks identify the layers overhead. Document access and interior sensitivity with the facilities contact, then compare the field observations to the available drawings. A roof condition record can keep confirmed layers, open questions, and test locations separate for review.
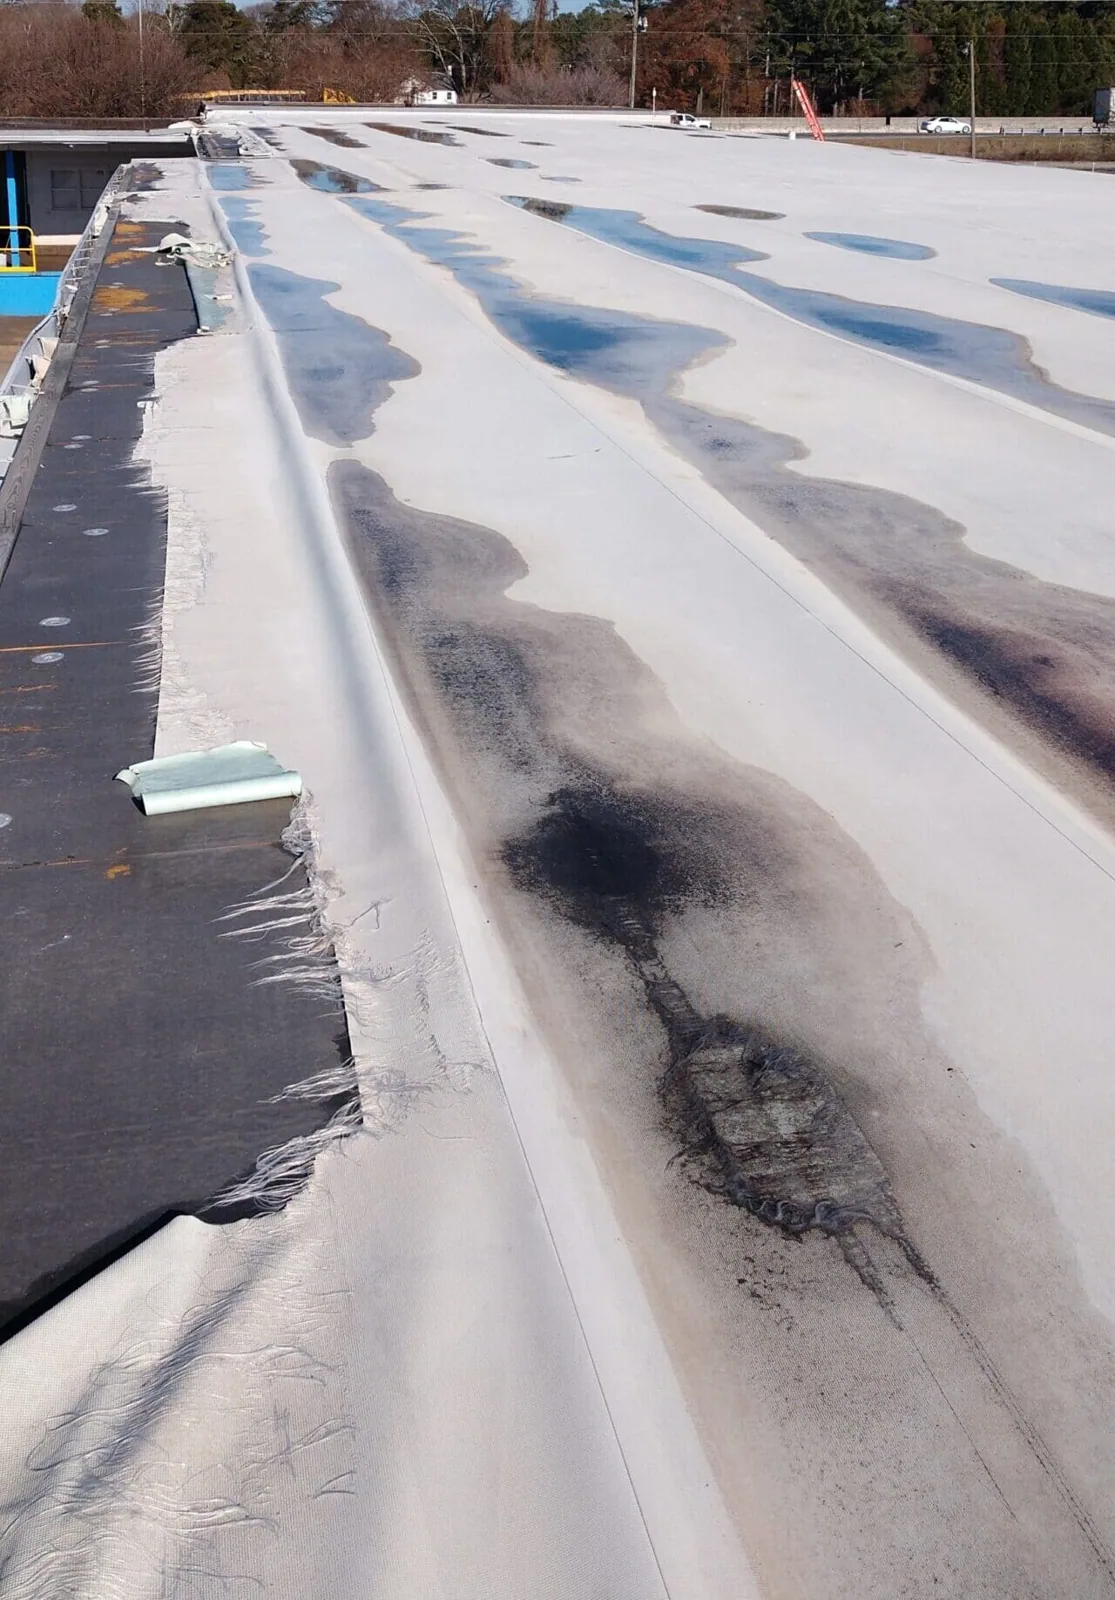
Field laps are made with compatible tape or bonding adhesive, with preparation matched to the specific sheet and repair system. Dust, moisture, aged adhesive, wrinkles, or movement can affect a lap, and the correct response depends on what has released. Probe the edge carefully, note whether the sheet pulls away or tears, and extend the inspection only far enough to find a stable repair boundary. Cleanliness and primer requirements follow the chosen repair system instructions.
Do not lay new tape across a contaminated or wet lap and call the condition closed. Record the surface preparation, pressure applied, cure conditions, and any dissimilar material at the transition. Record interior moisture separately from the roof opening; water may travel along a layer before it becomes visible below. A leak assessment ties the interior record to roof zones without assuming one caused the other.
At a parapet or eave, follow the membrane into the termination, metal, and corner. Loose edge metal, a split sealant bead, or an unrestrained sheet can move under wind and expose the lap. The inspection should note fastener spacing only where visible or confirmed, then compare it with the approved assembly details. Tracy lists wind Exposure C and directs design speed selection to applicable maps and the risk category, so citywide criteria cannot substitute for the project calculation.
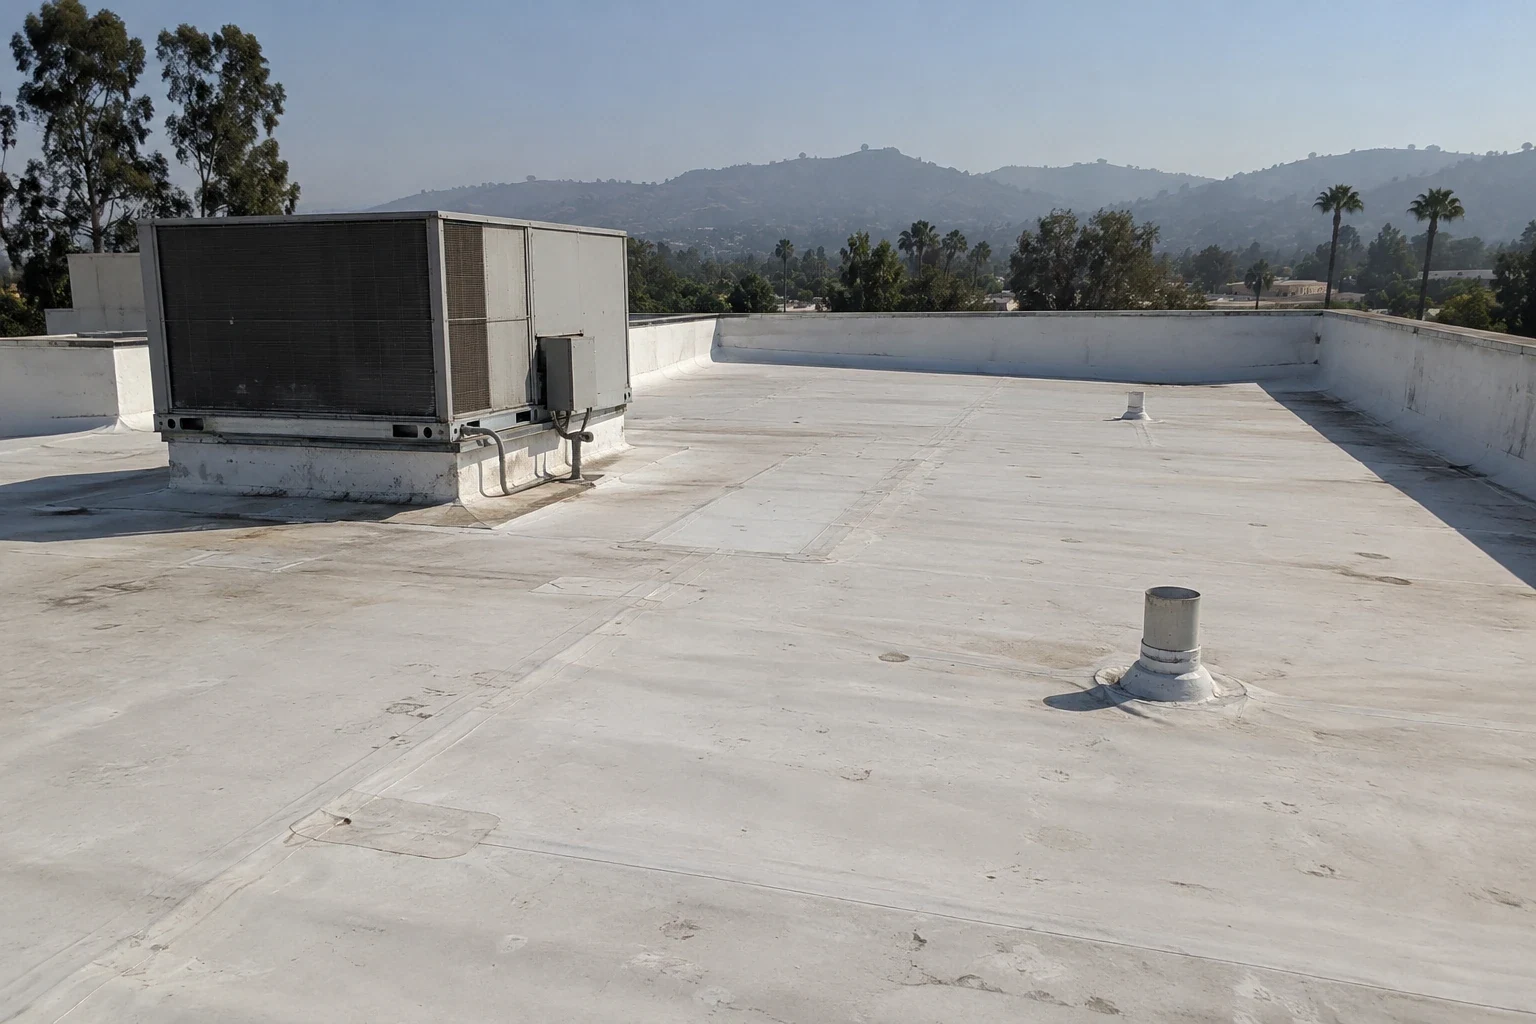
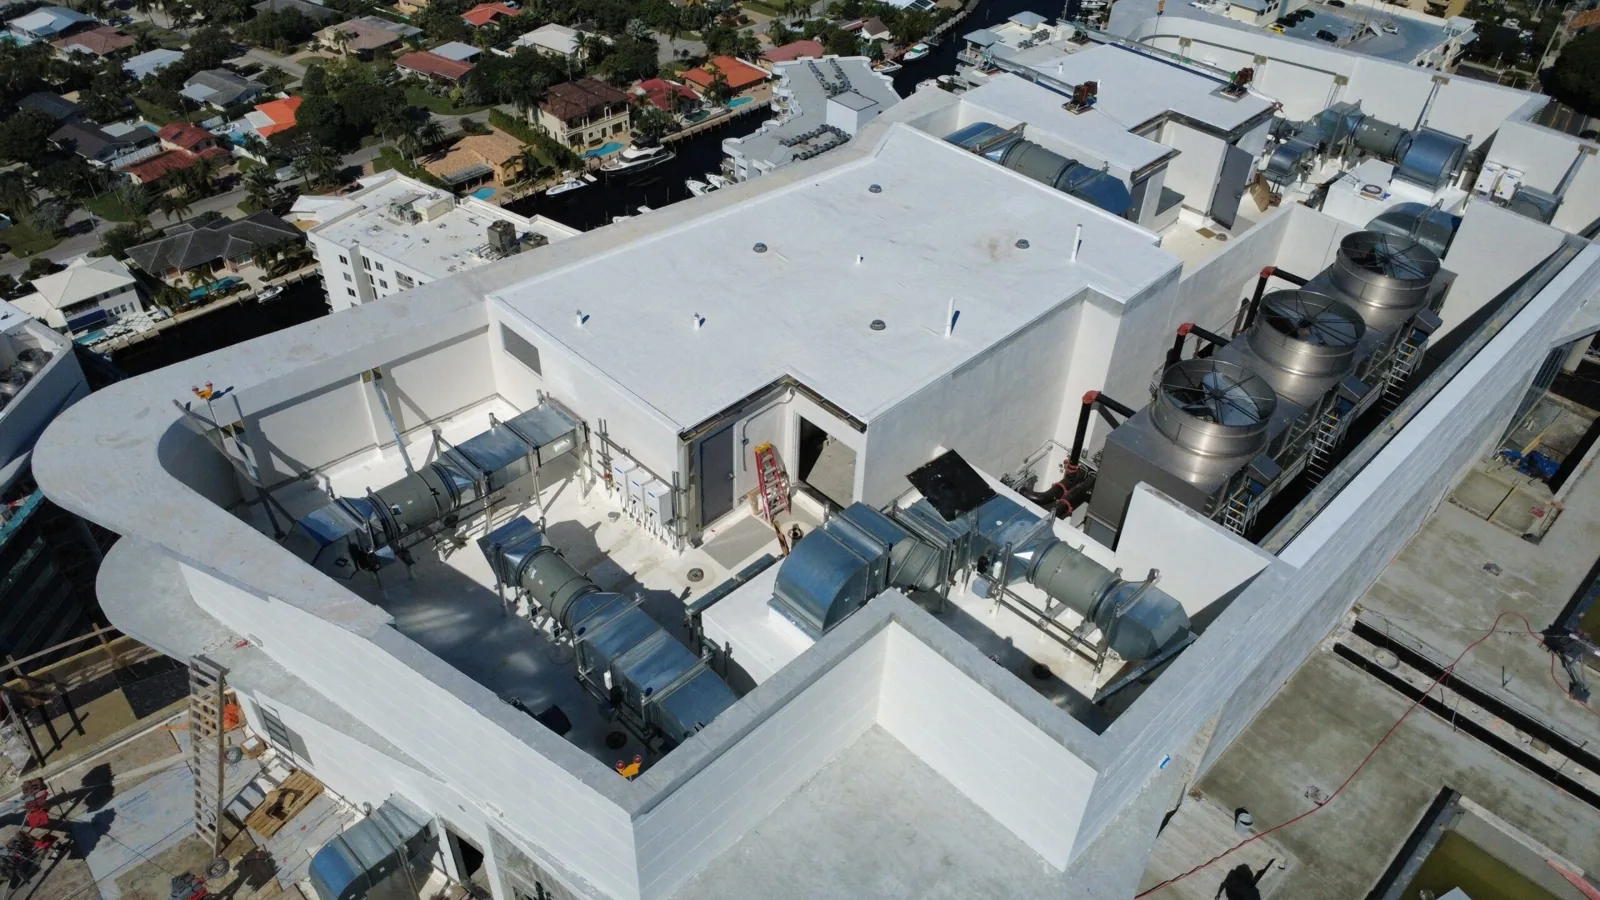
Curbs, pipes, skylights, and expansion joints each need a compatible termination. A repair detail should identify the existing accessory, membrane, preparation, reinforcement, and edge closure; broad instructions to “seal penetrations” hide differences between them. Keep photographs with a location mark and note any area not reached safely. For a wider TPO comparison or a KEE assembly review, use the same edge drawings and test record rather than comparing product names alone.
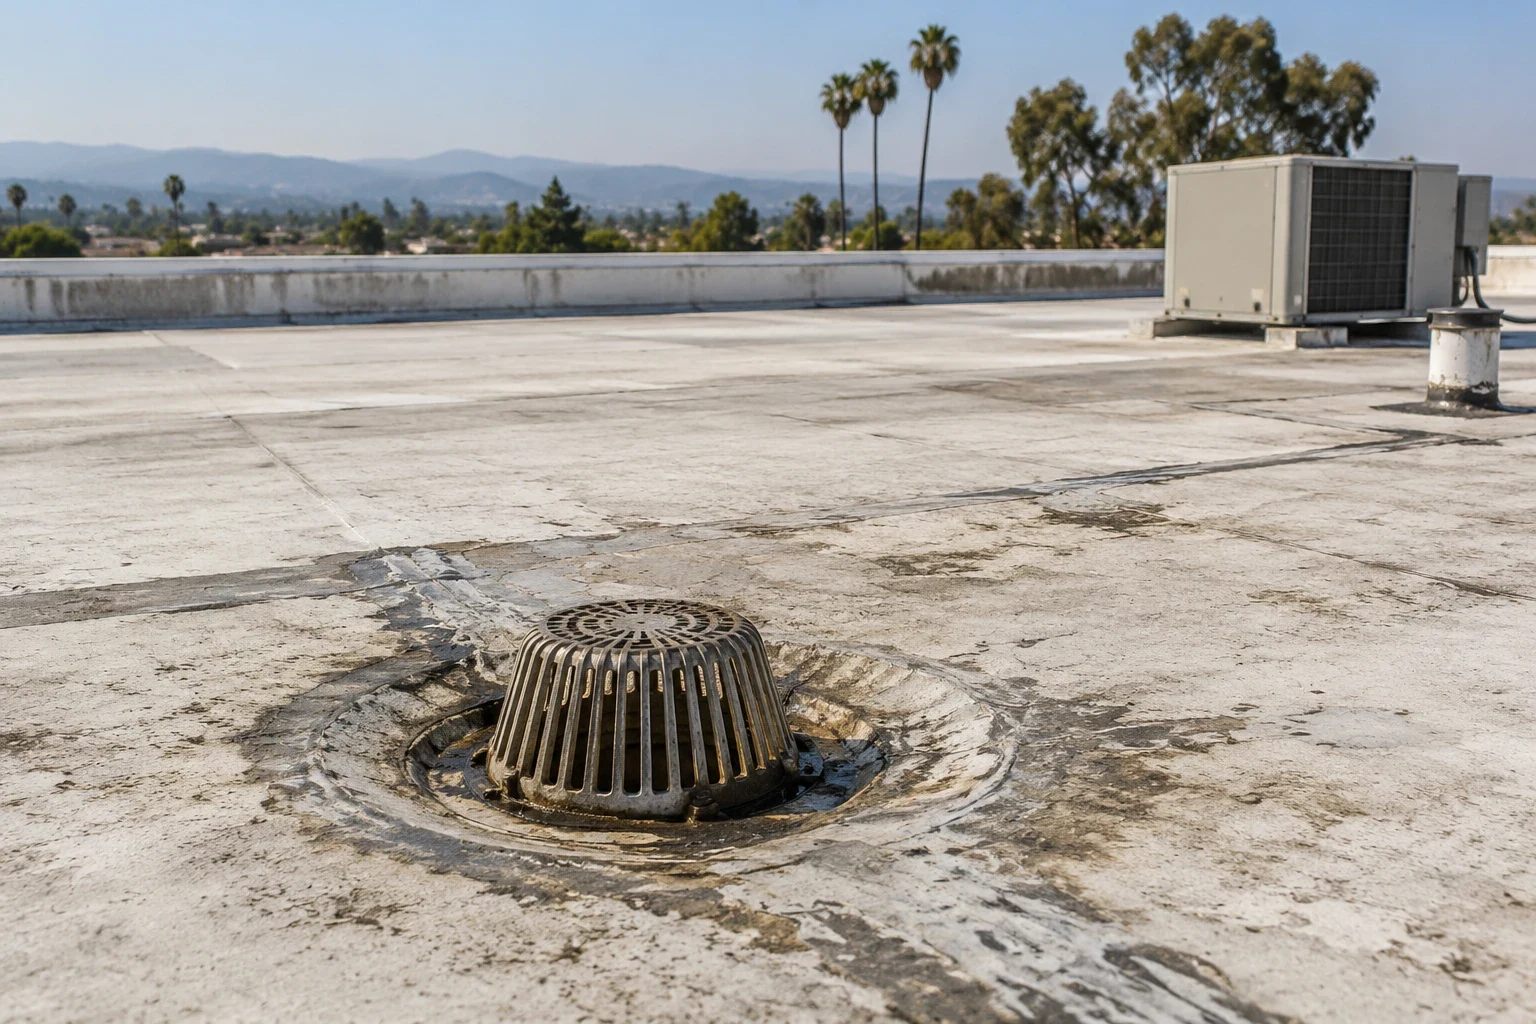
Inspect the outlet rim, overflow inlet, and adjacent lap before marking the drain detail. A backed-up outlet can hold water against a lap; a low area can leave water after the drain clears; a loose ring may leave a direct opening. Record when and where water remains, and note debris or discharge restrictions. The ponding-water review should distinguish those conditions before anyone adds a patch over the visible edge.
On roofs with multiple planes, trace the drainage path from high points to the outlet and photograph any dam created by a curb or prior repair. An EPDM repair may close one opening without correcting the grade or clearing the system. Tracy's I-205 Corridor plan identifies commercial uses near Grant Line Road and I-205; that broad geography may frame a service discussion, but it says nothing about an individual roof's drainage. A drain and scupper check should set the actual repair boundary.
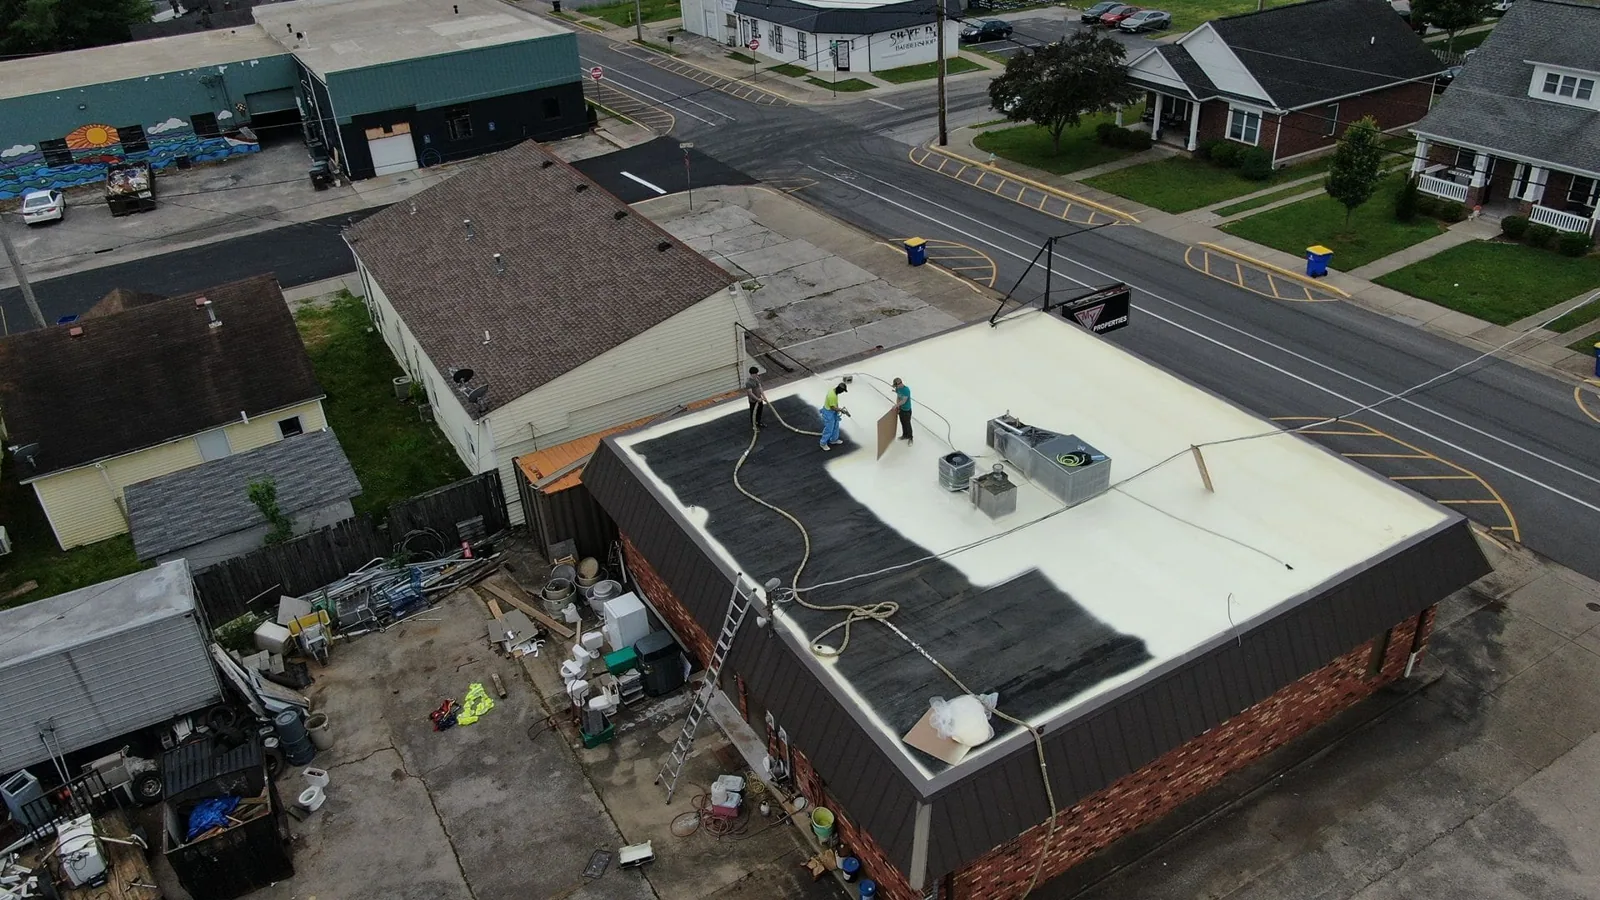
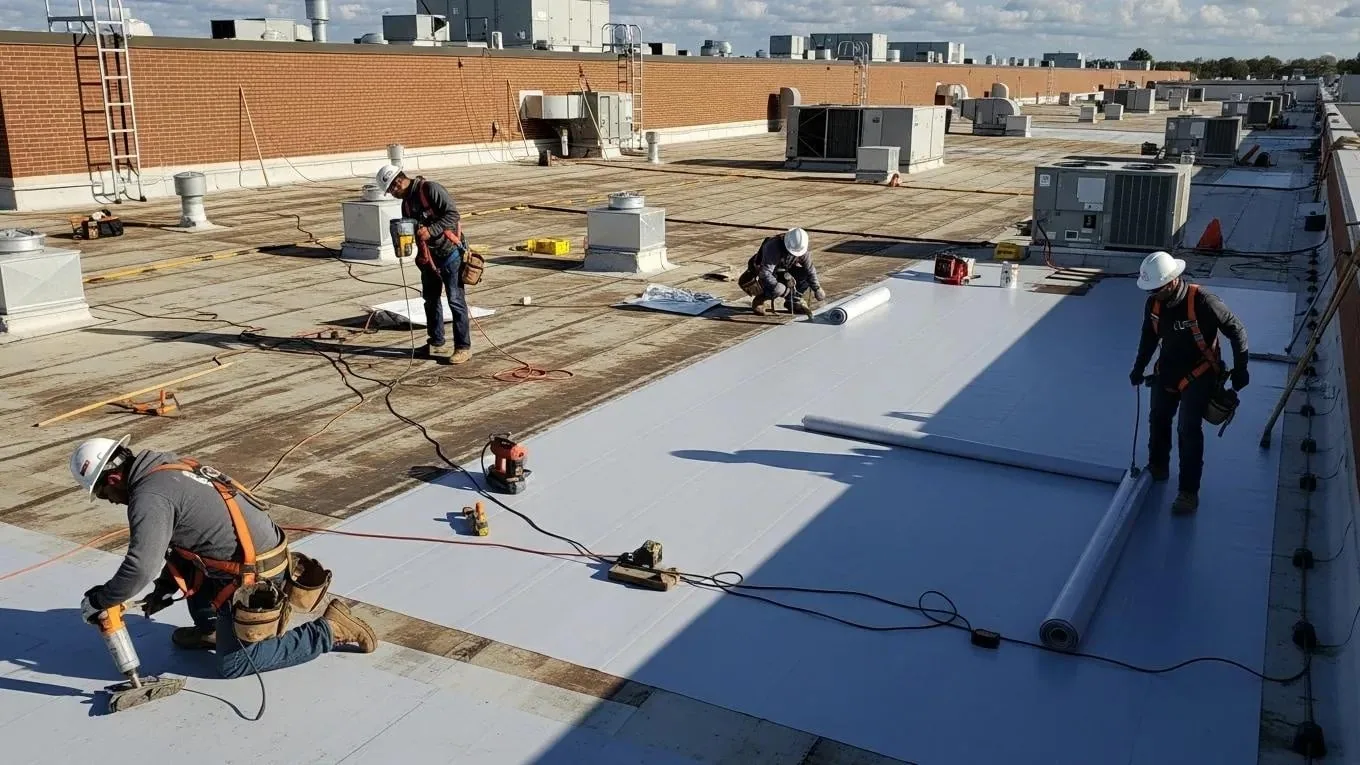
Adhesive and primer need clean surfaces and conditions allowed by the selected system. Before a shift begins, check the substrate, membrane, ambient conditions, and open work area; keep containers protected and record the materials used in each roof zone. Wind or dust can affect placement and bonding. If the schedule changes, note the exposed edge and the temporary tie-off so another shift can see where the assembly was left.
Delivery paths, occupied space, rooftop equipment, and emergency egress affect staging. Keep debris away from outlets and protect interior areas below open cuts. At each work break, photograph the temporary seal from above and identify who may reopen it; an end-of-shift record gives the next crew a defined restart point. For work in Downtown Tracy, map delivery routes and pedestrian controls to the specific property instructions before setting lift or debris locations. An occupied-building schedule sets daily work zones, and a closeout inspection records completed items and remaining observations.
A localized EPDM repair may fit where the membrane remains stable around a defined lap or flashing opening. Repeated seam release, widespread wet insulation, failed attachment, or brittle field sheet can change that answer. Put the alternatives beside one marked plan: show the membrane to keep, each zone to remove, the moisture findings, and the edge transitions. List the opening still needed and obtain the owner's approval before extending the scope.
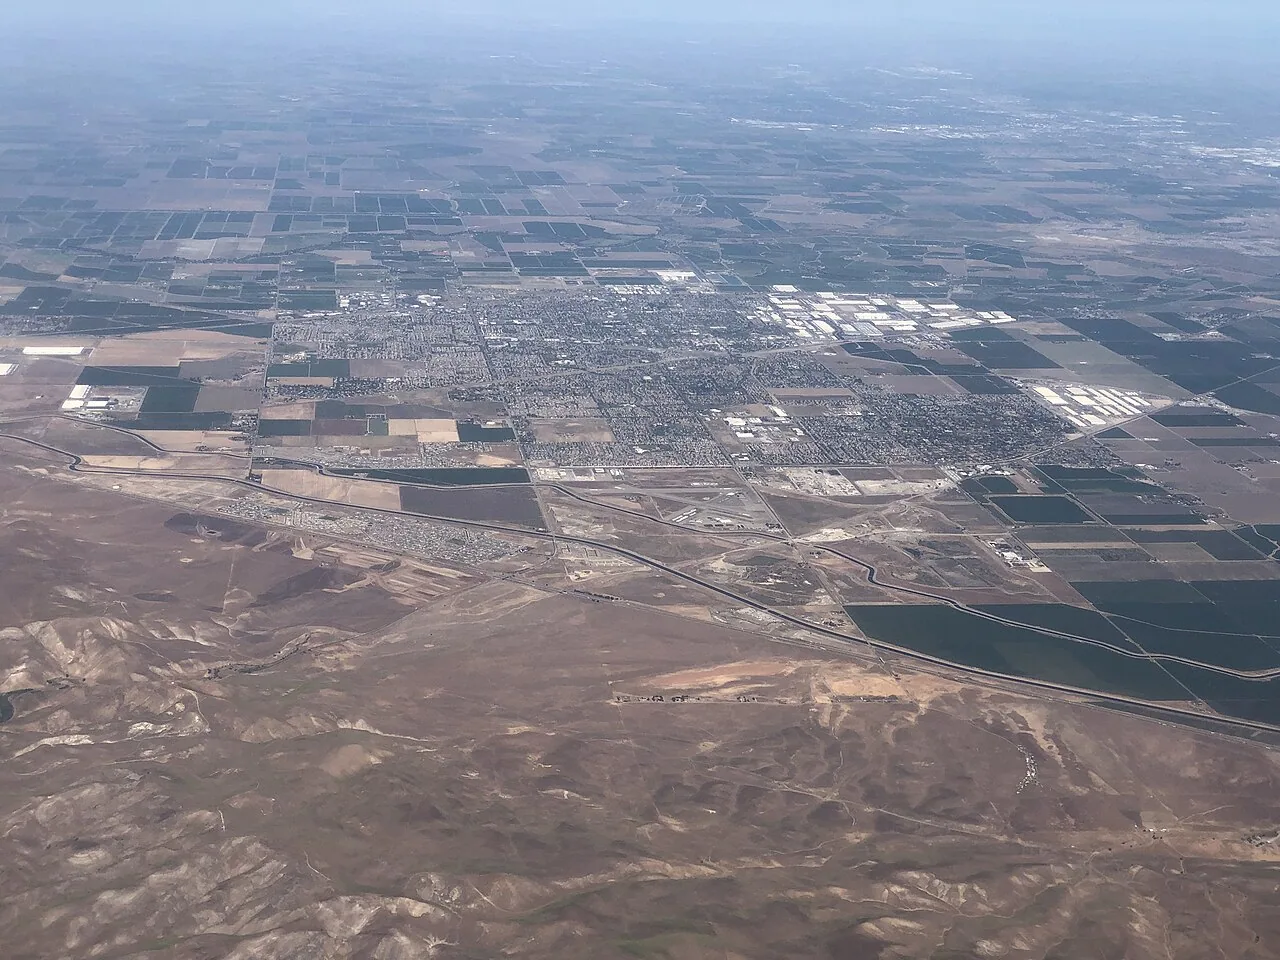
For a recover, confirm the substrate can carry the added assembly and that drains, thresholds, and perimeter transitions still function. Replacement exposes concealed layers for inspection but adds tear-off, disposal, temporary dry-in, and a new work sequence. Put maintenance requirements and warranty documents in the closeout file without assuming the old terms carry forward. The Downtown Tracy service area and I-205 Corridor provide broad geographic context; the roof plan remains the basis for this building's work.
First identify the membrane, joint system, surface condition, and extent of release. Preparation, primer, tape, or adhesive must follow the compatible repair system, and the closeout should show the tested boundary.
No. Check the edge, accessible field, records, or an authorized test opening. Attachment method changes both repair and recover decisions, so keep an unknown layer marked as unresolved.
Record the outlet, sump, overflow, and nearby plane after surrounding areas clear. The cause may be obstruction, a low section, or a drain detail, and each calls for a different scope.
Yes, when the sheet and curb transition can receive a compatible repair. Map the opening, confirm the repair boundary, and specify the termination instead of relying on sealant alone.
Show the same roof zones, attachment findings, lap tests, and exclusions in both proposals. Separate confirmed repair from optional removal, then identify the decision point if an opening reveals a different layer or wet insulation.