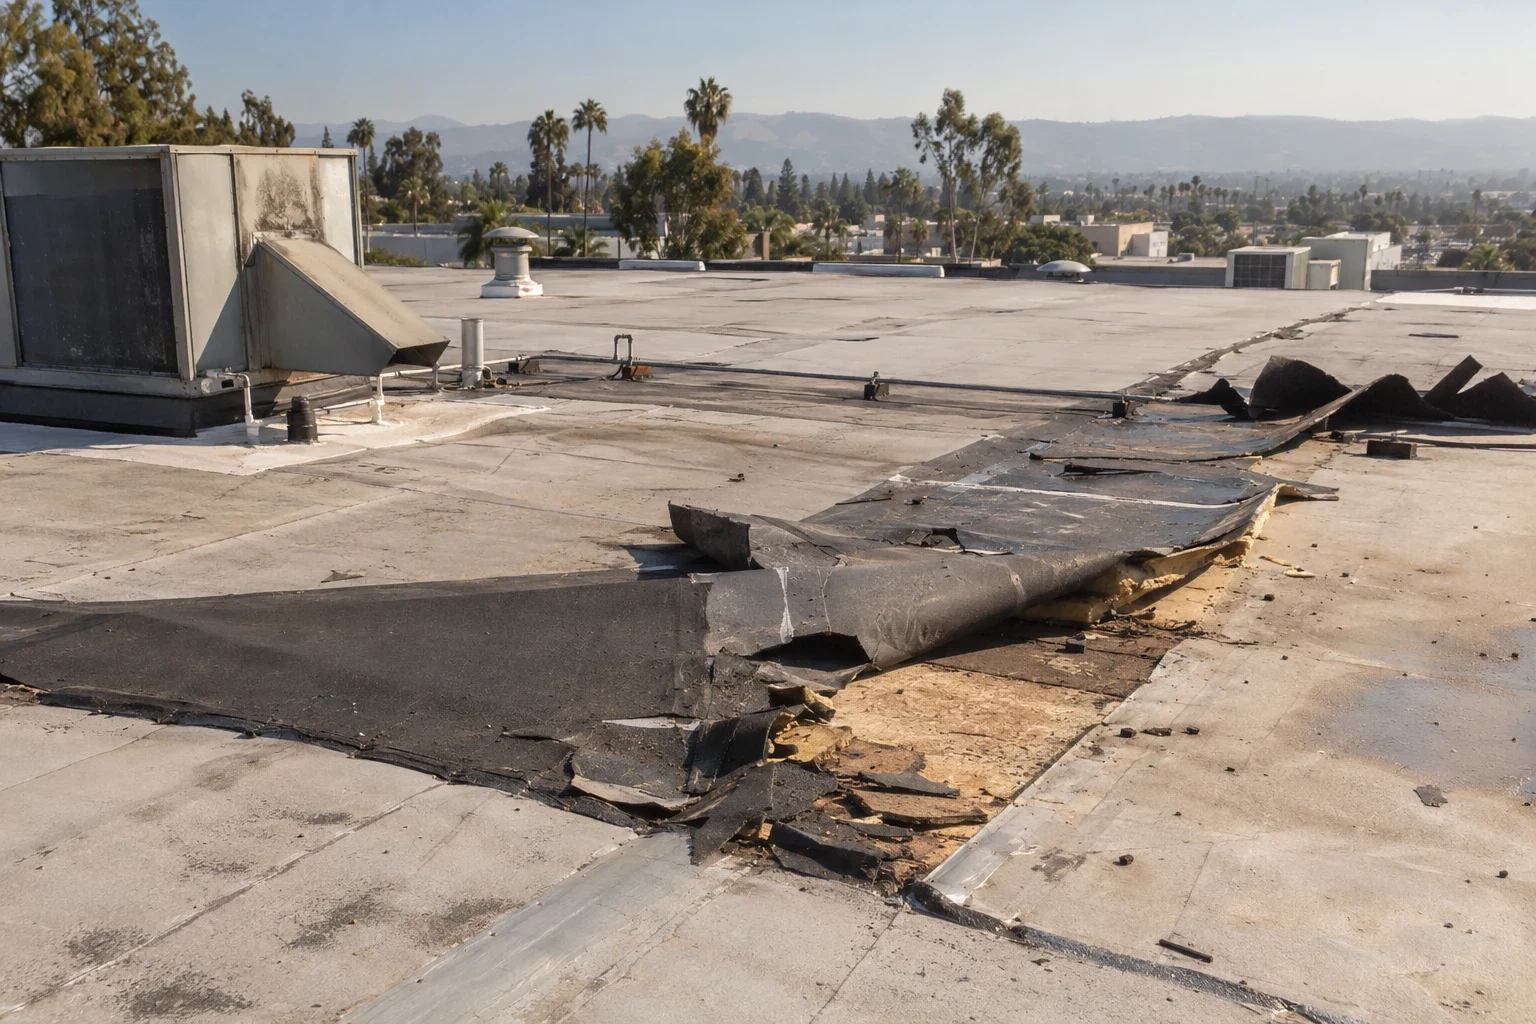
Commercial Roof Seam Failure Repair in Tracy, CA
Roof Damage Repair
Trace split and open commercial roof seams in Tracy by system, substrate, and water path, then define a compatible repair boundary with clear test limits.

Trace split and open commercial roof seams in Tracy by system, substrate, and water path, then define a compatible repair boundary with clear test limits.

An open seam needs a material and attachment check before new tape, weld, or sealant is chosen. We mark the joint, inspect its ends and intersections, and compare the separated section with the roof assembly record. Tracy's Industrial Areas Specific Plan covers a mix of general and light industrial, office, and flex-tech uses. The Northeast Industrial PUD adds warehouse, manufacturing, distribution, rail-dependent, and flex-tech uses. That mix gives the city a broad commercial roof stock, but no planning category establishes how one roof was built. A roof inspection can map the actual seam and adjacent substrate.
A seam can separate because of poor preparation, incompatible repair material, sheet movement, heat cycling, trapped moisture, or a detail that was stressed at a curb or edge. The visible gap shows where to start, not how far the assembly has failed. We check the joint type and stopping point, then record whether the sheet is secure on both sides. A visit in the Industrial Areas Specific Plan follows the same roof-level evidence as work elsewhere in Tracy.
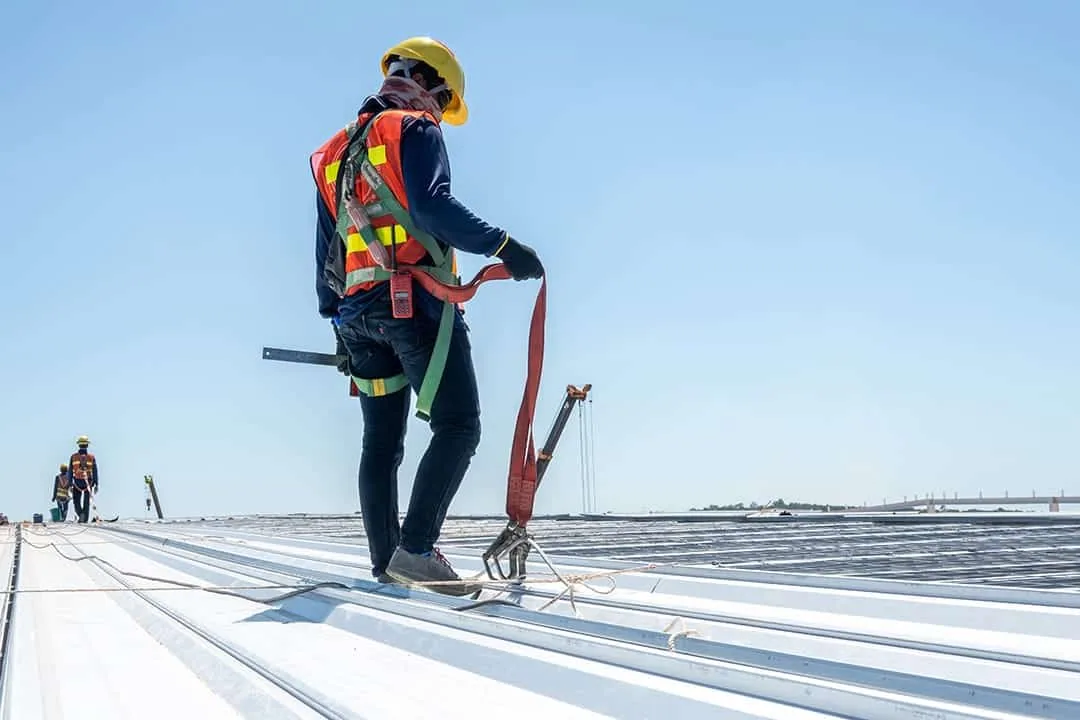
First determine whether the joint is heat-welded, taped, adhered, or formed by overlapping metal panels. Inspect the full seam length and its ends for a lifted edge, fishmouth, wrinkle, contamination, or a break where the joint meets another detail. Note whether the top ply has split while the lower material remains intact. Probe only in a way appropriate to the system, and avoid extending a sample beyond the authorized area.
Previous repair layers can hide the original joint. Compare the field condition with drawings, maintenance tickets, and accessible terminations. If the assembly changes along the run, mark each change rather than applying one repair detail throughout. TPO seam work calls for a different process from an EPDM lap repair; the material name alone does not confirm which joint is present or what preparation it needs.
Look for a seam that opens at a curb, crosses a depression, reaches a termination, or changes direction near a walkway. A joint may release at one end because of movement in the adjacent detail, while the balance remains bonded. Record the start, end, width, and condition on both sides. Check for dirt, standing water, wrinkled sheet, fastener movement, and prior patches that could affect the tie-in.
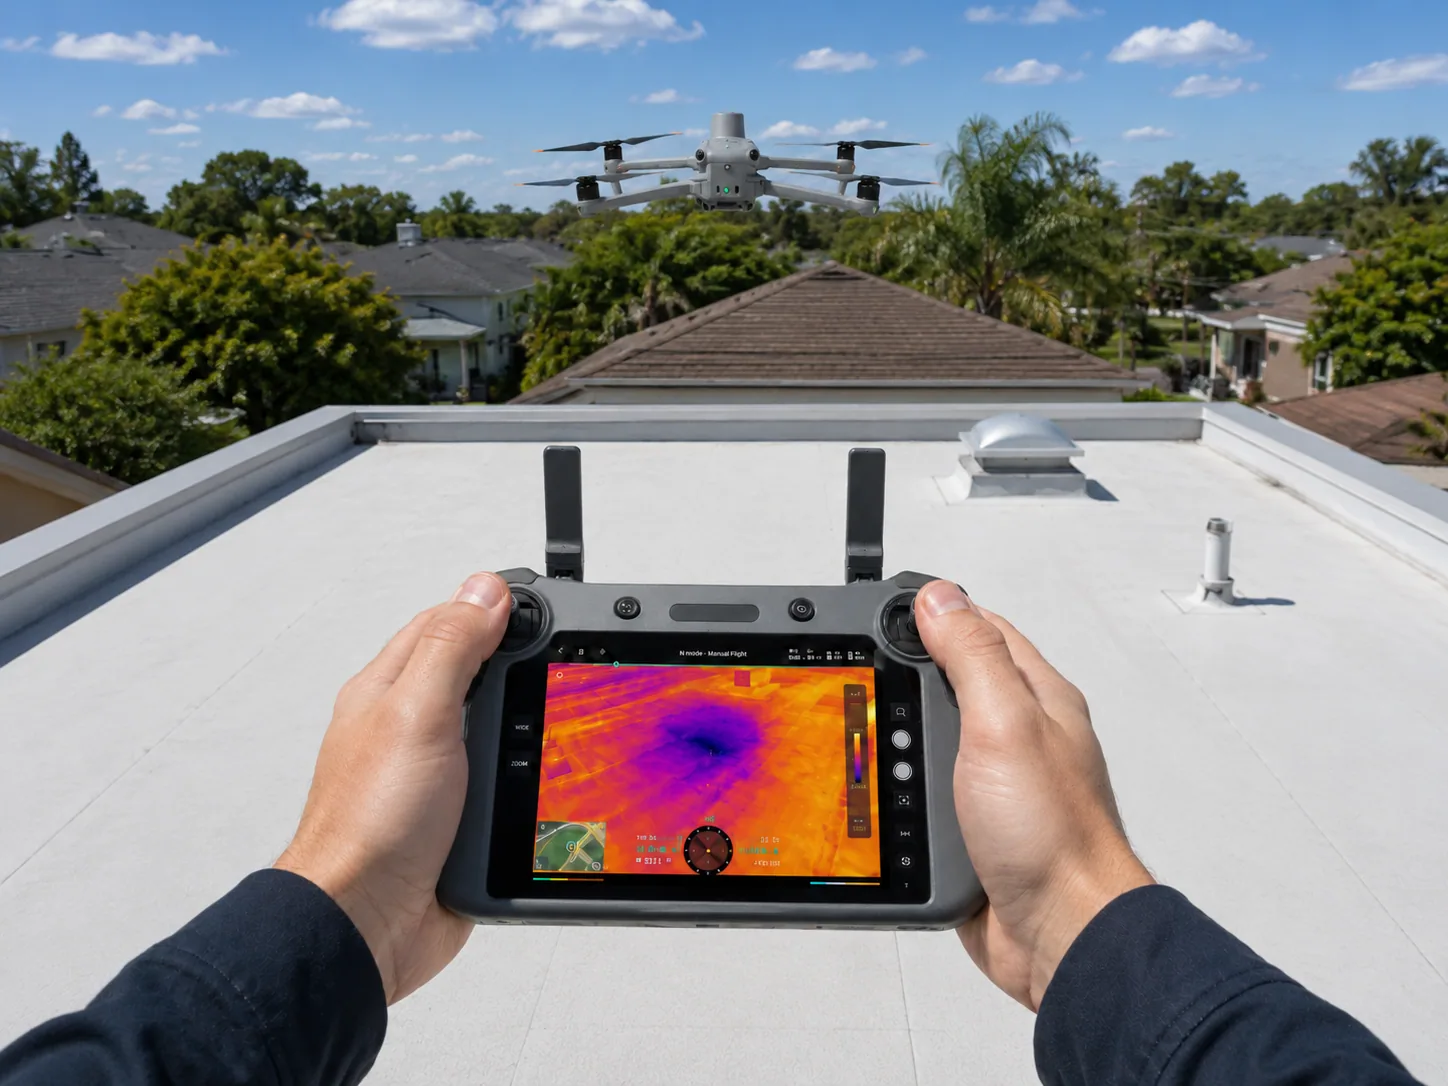
Tracy's city design table places the market in Climate Zone 12 and identifies a 101.2°F two-percent dry-bulb high. Use that published design value as context when reviewing heat-related material movement and work scheduling; it is not a reading from the roof surface or the application day. The test record should show actual substrate and weather conditions. If moisture is suspected below the seam, a moisture survey may help select confirmation points where the method suits the assembly.
Record the interior location and date, then compare it with the roof plan. Water can move along insulation, a deck flute, or a low point before it reaches a ceiling. Inspect the seam and nearby curb, drain, wall, penetration, and repair edges that could intersect that route. Keep the stain separate from a confirmed seam leak until a direct path or test supports the connection.
For an approved opening, identify the precise location, test purpose, layers expected, and temporary closure method. Photograph the seam before and after exposure and note whether the substrate is dry, damp, or visibly damaged. A leak investigation can connect the indoor report with roof findings; it should not turn every nearby joint into a repair item. If water accumulates at the same location, map the outlet and slope as separate evidence rather than treating ponding as proof of seam failure.
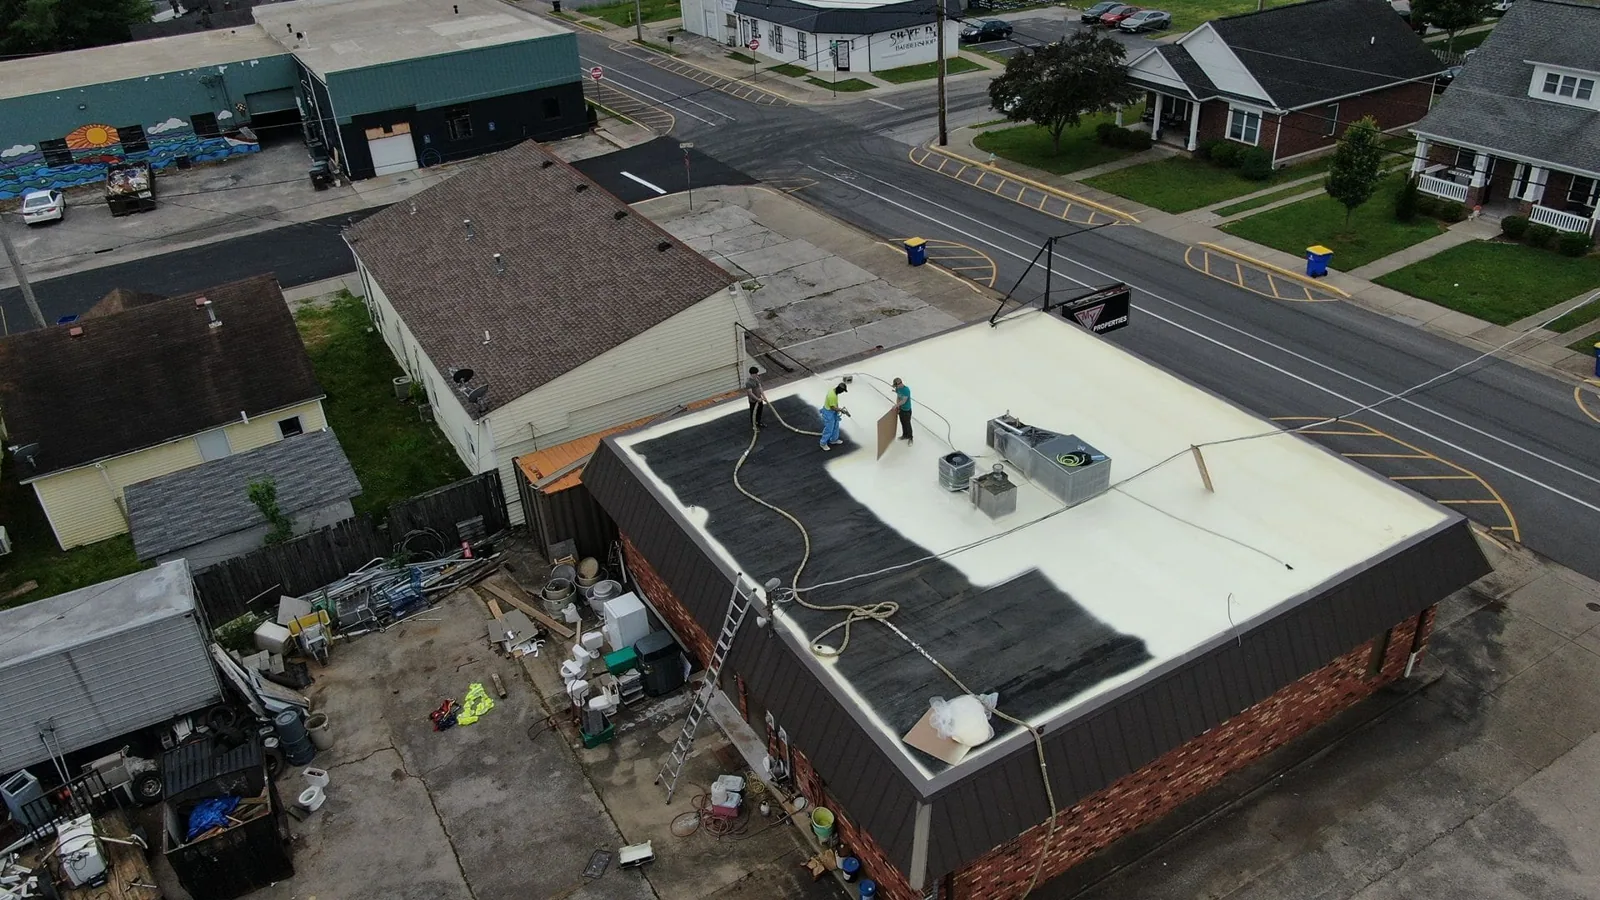
Remove loose, contaminated, or unbonded material to the measured boundary. Clean and prepare the substrate according to the selected repair system. For a welded membrane, inspect the weld area and equipment settings required by the system; for a taped or adhered joint, confirm primer, pressure, and cure conditions. Metal panel seams need their own fastening and sealant review. Show the repair detail before work so the owner can see how the new material will terminate at corners and intersections.
Keep nearby penetrations, drains, and rooftop units out of the repair quantity unless their transitions also fail. A flashing-detail repair may be needed where the seam joins a wall or curb, while a movement assessment can examine separated seams that occur with shifted edge metal. Record the boundary that remains out of scope and any test needed before the next section is opened.
A short separation can be corrected locally when the surrounding sheet is stable and the joint can be prepared cleanly. Repeated openings, aged adhesive, widespread wrinkles, or confirmed moisture beyond the visible gap may require more testing. Compare alternatives on a marked roof plan, listing seam length, removal depth, materials, adjacent flashing, access equipment, and weather closure. Use the same measurements for repair, recover, and replacement so the difference between options is visible.
The city identifies Downtown Tracy as a distinct land-use center, separate from its planned industrial employment areas. That distinction helps locate service work, not select a roofing method. A recover review must verify layer count, attachment, moisture, and drain heights before leaving the existing seam assembly in place. If the roof needs broader work, a replacement scope should identify the evidence that makes a larger boundary preferable to joint repair.
Closeout should identify the roof zone, seam type, repaired length, preparation, material, installation conditions, inspection point, and photographs. Show the joint from above with a location reference and include the detail that connects it to adjacent field membrane or metal. Record whether a test opening exposed wet insulation or a different layer and state how that area was restored. Any unresolved condition should remain listed as an open item.
For repeated seam trouble, compare each new finding with the prior map instead of treating all joints as one continuous defect. A well-labeled roof record can carry the locations and repair dates into a later inspection. If an opening becomes active before the permanent scope is ready, temporary protection can be arranged around the identified seam, with the exposed area and removal point noted in the work log. The report should distinguish that stabilization from a completed long-term repair.
Often, if the separation is limited and adjoining material can accept a compatible tie-in. Repeated release or moisture beyond the joint may call for testing before the scope is fixed.
Inspect the joint type, top ply, sheet edges, and material beneath the opening. A measured test can confirm the repair boundary when the visible surface leaves a layer question.
No. It is a city design criterion. The roof's construction, movement, repair history, and field condition support the cause assessment.
No. Map the water path and inspect the nearby details. Include only joints where the condition is observed or testing supports a repair.
Show the joint type, measured length, preparation, products, installation conditions, photos, inspection release, and any area that remained untested.