Commercial Roofing in Crossroads Industrial Park, Lathrop, CA
Service Areas
Commercial roof inspections and repairs in Crossroads Industrial Park, Lathrop, with mapped conditions, controlled testing, and clear work boundaries.

Commercial roof inspections and repairs in Crossroads Industrial Park, Lathrop, with mapped conditions, controlled testing, and clear work boundaries.
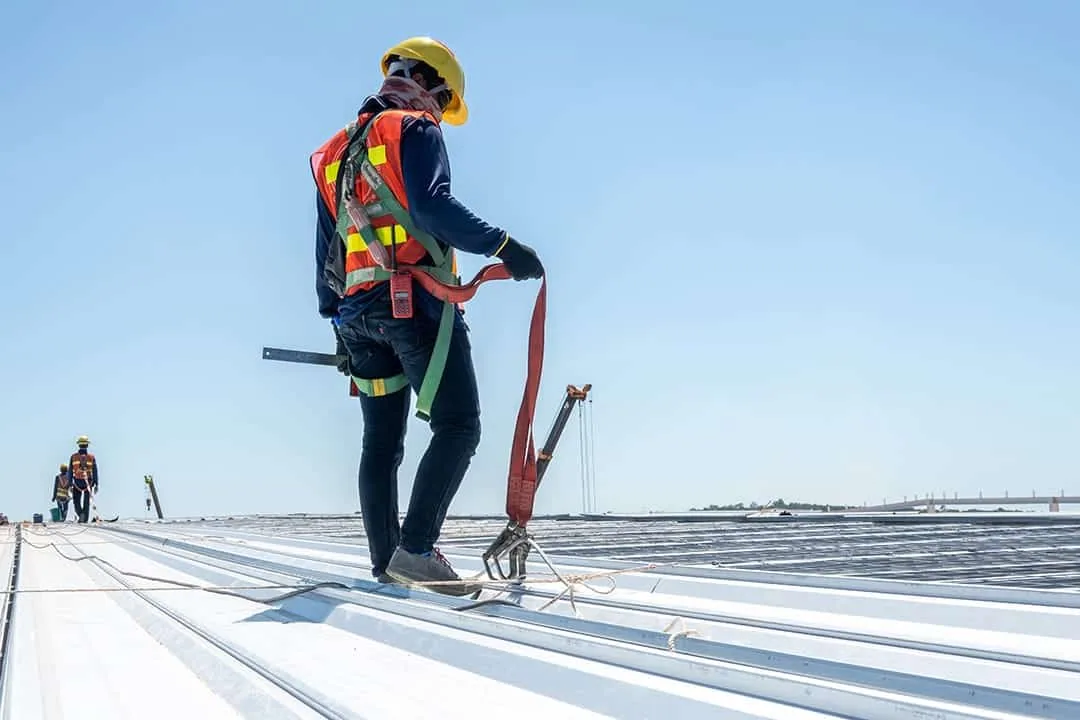
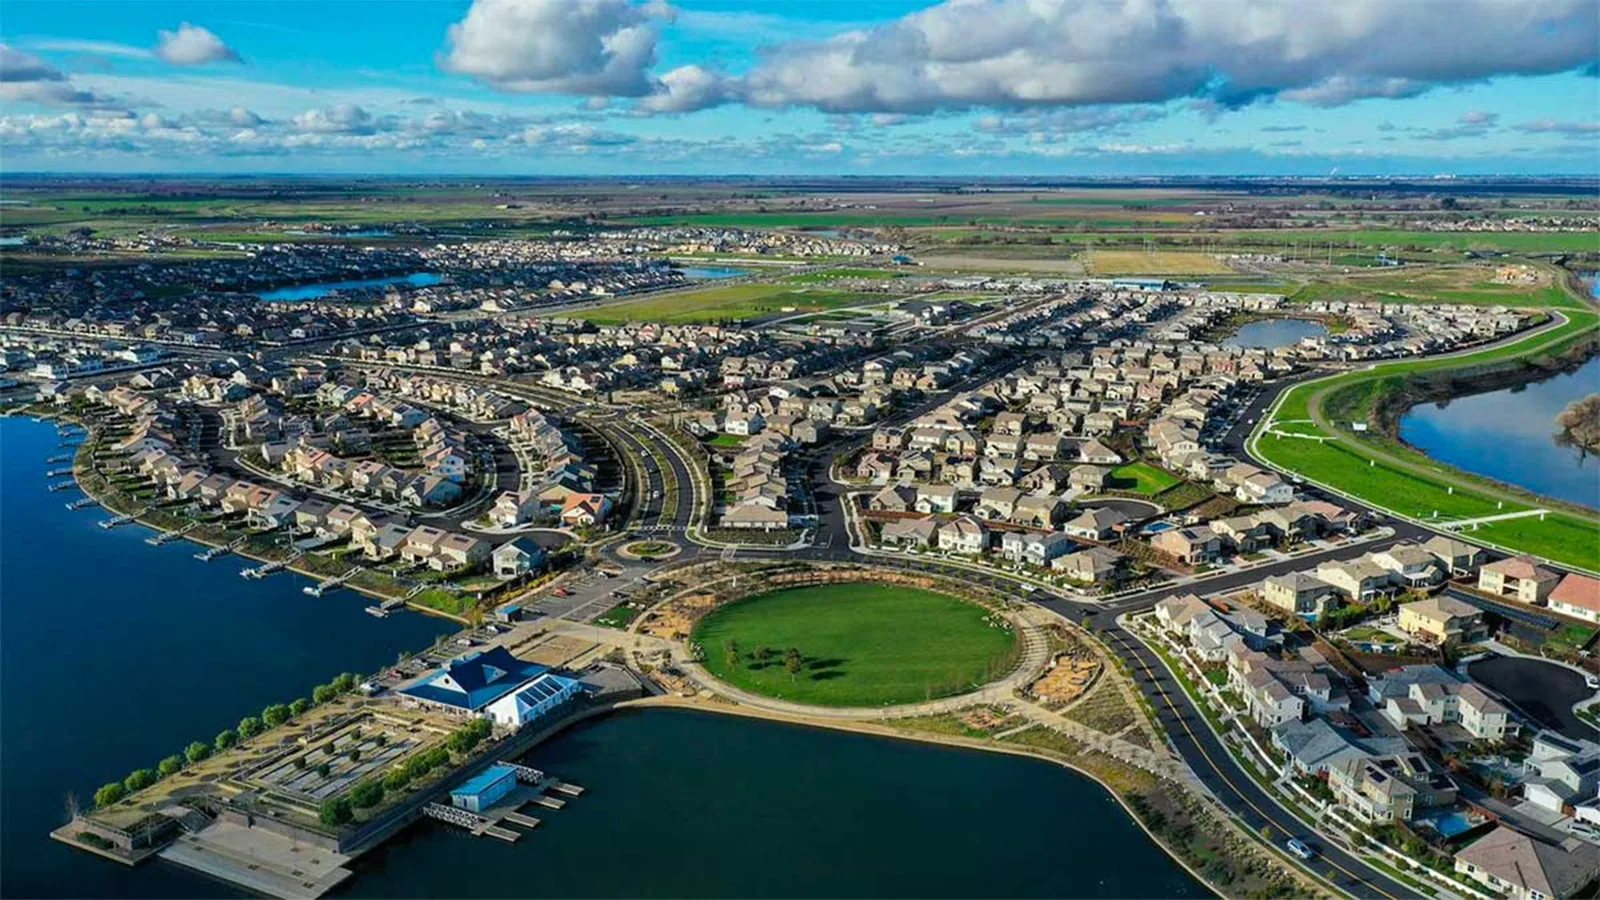
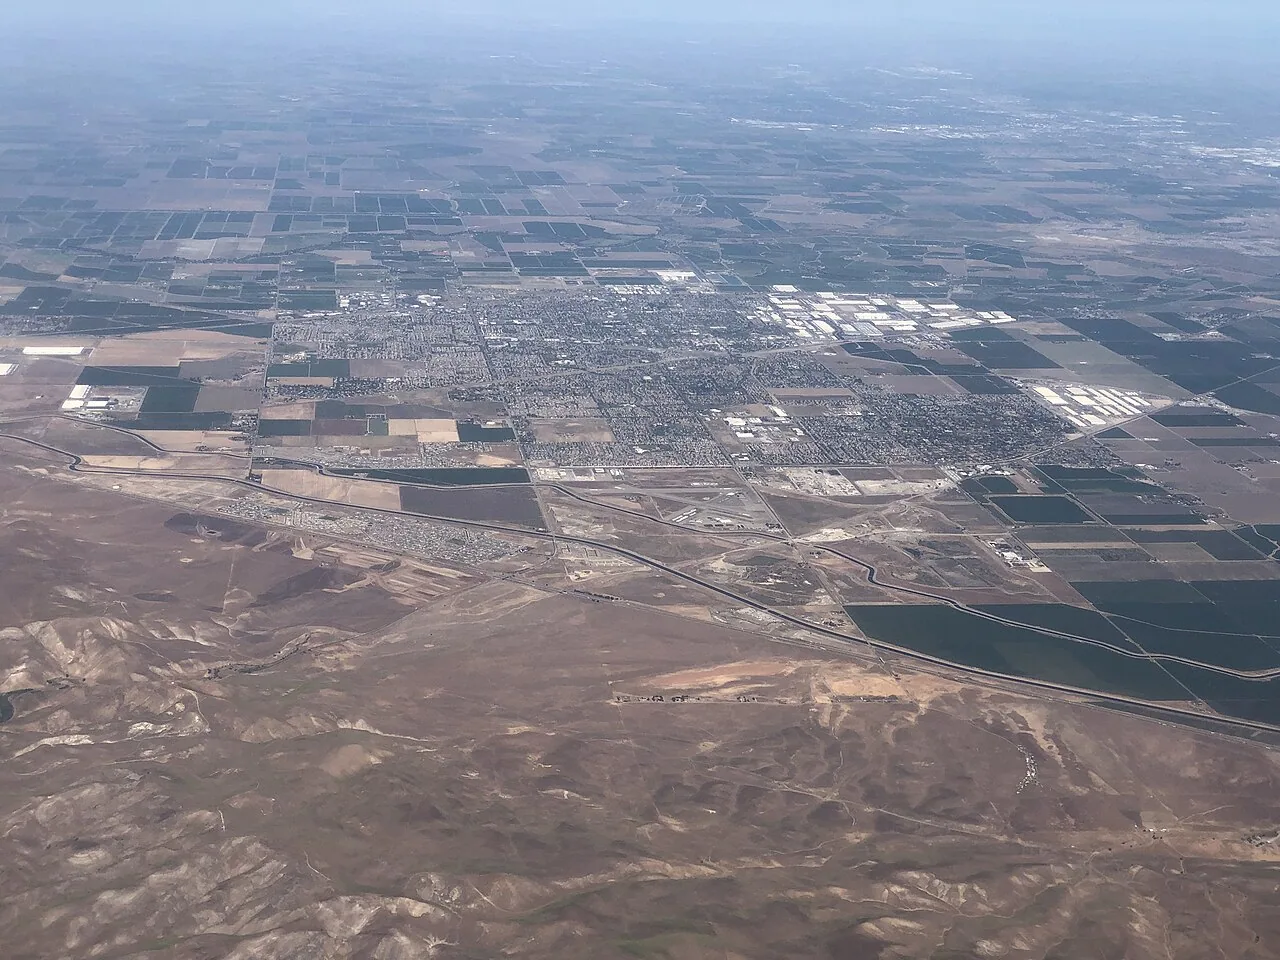
A damaged flashing tie-in starts the roof review when a leak report crosses an industrial property. Crossroads Industrial Park is a broad planning area in Lathrop, roughly 528 acres north and east of the I-5 and State Route 120 intersection. That boundary describes a multi-property industrial park, not the condition or use of any one building. We begin each commercial roof visit with the property identifier, access plan, and reported symptom. A roof inspection records the visible assembly and separates confirmed defects from locations that need additional access or an authorized test.
The City maintains boundary maps and environmental-review documents for Crossroads Industrial Park. They help confirm the planning area, but do not replace a building roof plan. Label each diagram by property and roof zone. Do not carry a repair note from one roof to another because both sit within Crossroads; assembly, drainage, access, and maintenance history need separate confirmation.
The City incorporated this planning area into Lathrop and carried land-use restrictions forward through a development agreement. Confirm any applicable restriction with planning and building contacts before bidding. A Lathrop roof service area places the park within its city; the Gateway Business Park area is a separate planning target. Keep each district's roof records distinct.
Water often travels from a roof entry before it appears inside. Record when the leak occurs, the room or equipment area involved, and any previous repair at the same location. On the roof, trace nearby laps, penetrations, curb flashings, wall transitions, drains, and changes in plane. Mark direct observations on the diagram and tie each photograph to a roof zone. If an equipment screen, fall-protection boundary, or weather condition limits access, log that limit and keep the suspected path separate from the confirmed defect.
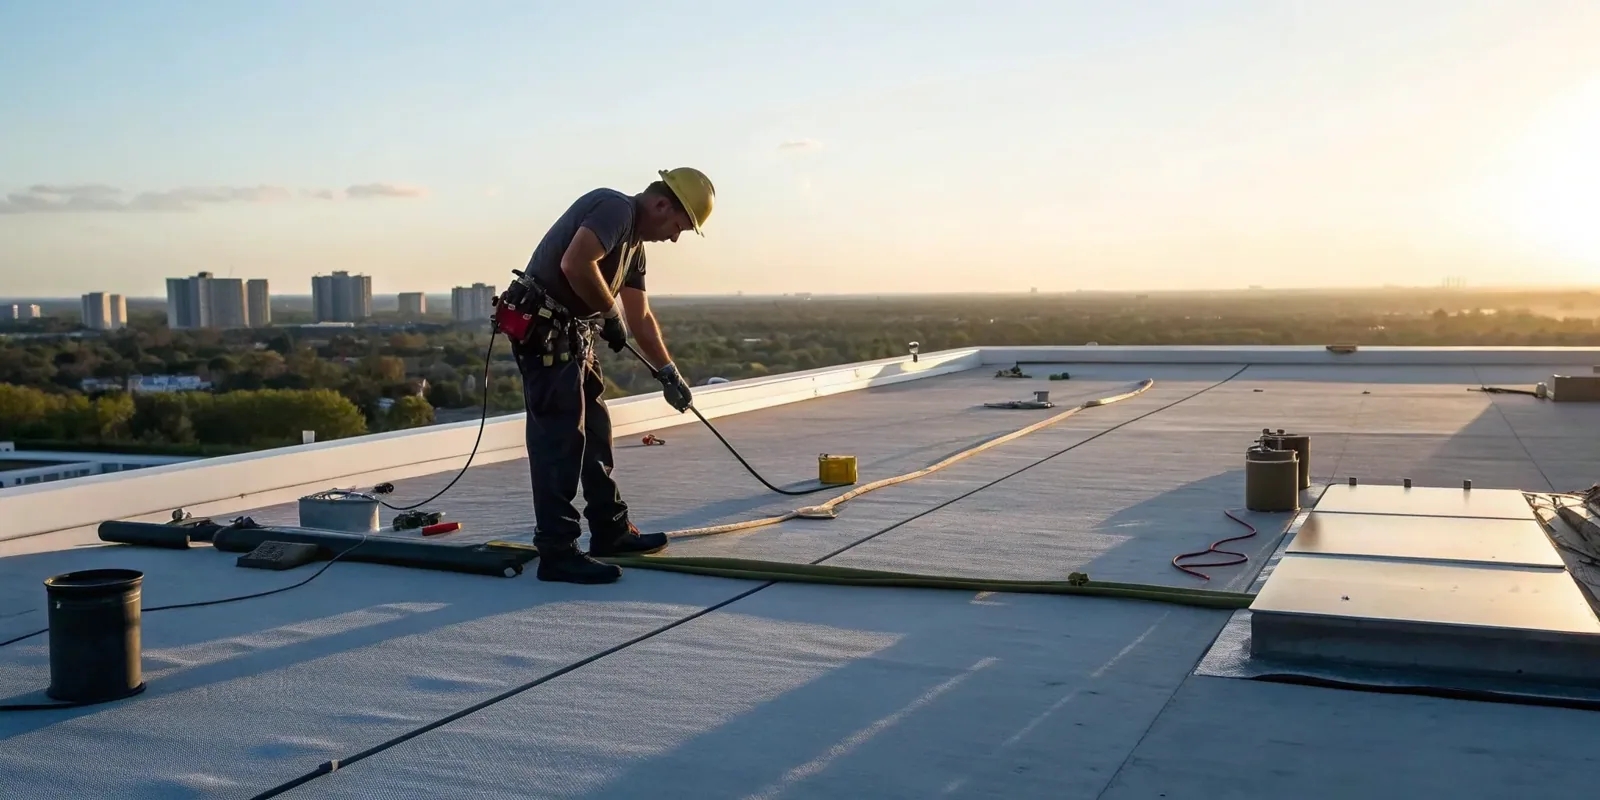
A repeat leak can involve a failed detail, trapped moisture, or water moving toward an opening. Inspect the drainage path and membrane at drains before widening the repair. If surface evidence is inconclusive, identify the next useful step, such as an infrared scan or approved test opening. A commercial roof repair visit can map the defect and temporary protection while the owner decides whether concealed-layer testing is warranted.
Record confirmed membrane or panel, visible insulation, deck where exposed, seams, edge metal, wall flashing, curbs, and penetrations. Compare those observations with drawings, warranty documents, product records, and service tickets. A document may cover one phase only. Mark its limits and leave other zones unclassified until inspected.
At a seam, check for separation, contamination, movement, poor adhesion, and lifted patch edges. For EPDM, system-specific repair planning depends on preparation, compatible materials, and the surrounding sheet. Other systems need different methods. If a test cut is warranted, mark its location, restoration detail, and approval contact. Record areas the inspection did not reach so an estimate does not imply unseen layers were confirmed.
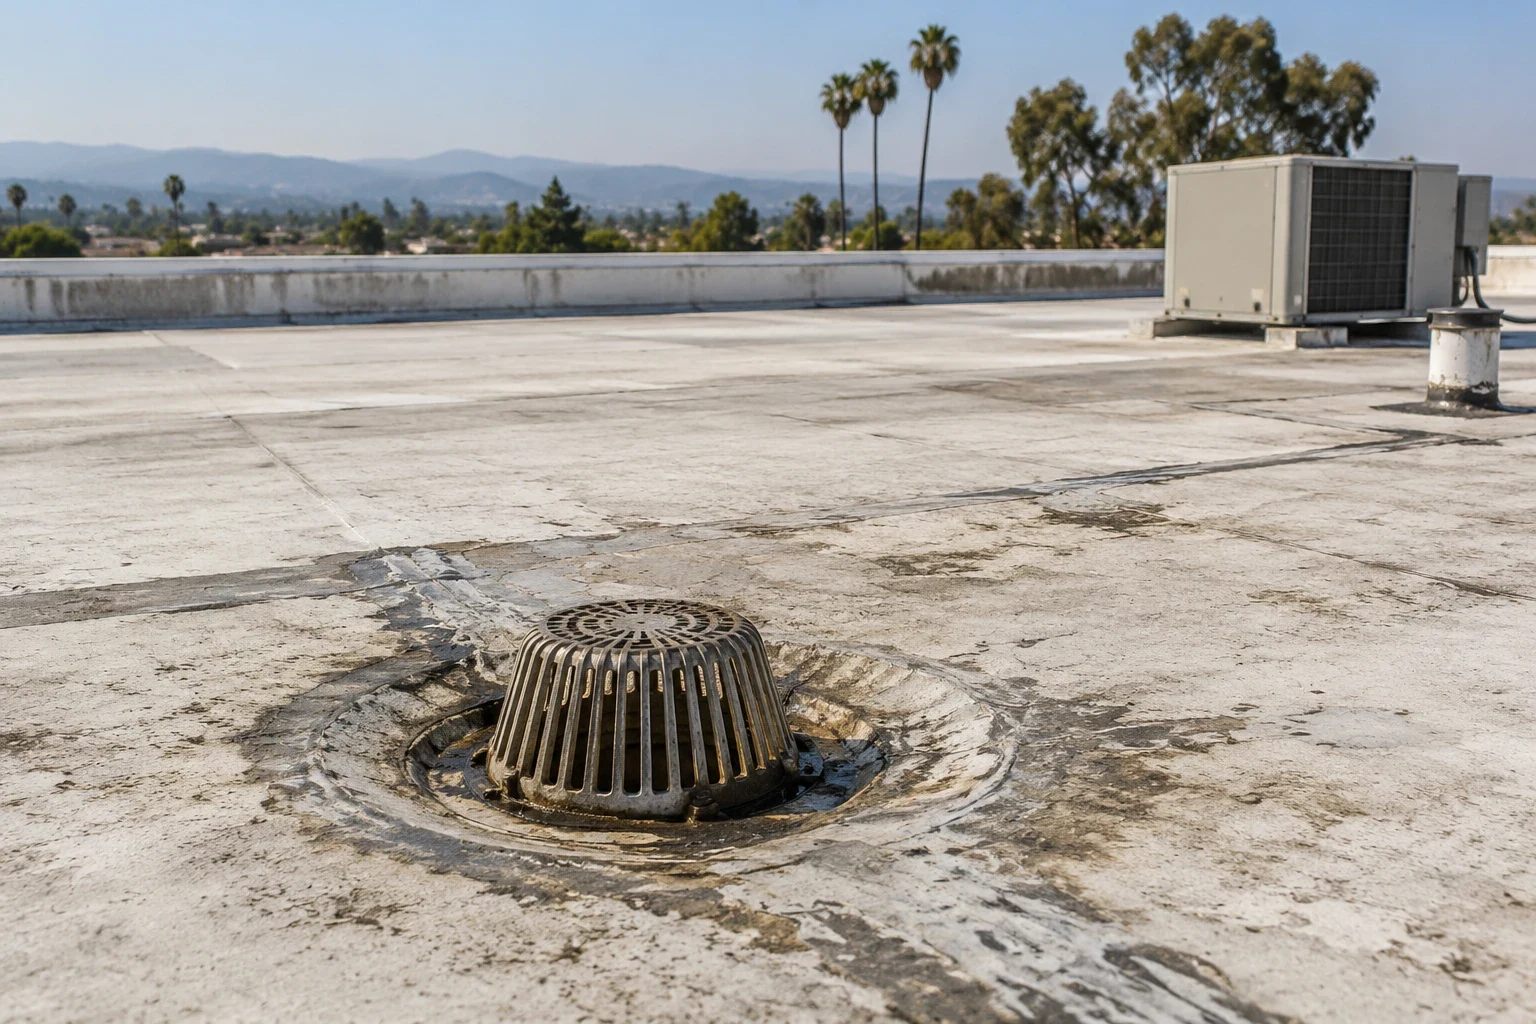
Describe only the roof-side conditions inspected. Note each drain, scupper, overflow, sump, and visible low area. Photograph debris before removal and record any change after clearing it. A roof defect and downstream plumbing may need separate scopes. Drain and scupper review documents membrane condition at the opening; the property team can coordinate piping beyond the roof assembly.
Transitions need the same attention. Trace wall flashing, parapet edges, expansion joints, equipment curbs, and metal terminations that meet the repair zone. A patch that stops short of a moving transition may leave the actual failure unresolved. Show the tie-in on the marked plan, list the materials involved, and state how the crew will inspect the finished detail. If roof access ends before a wall edge or curb can be reached, write that limit into the proposal. Owners can then decide whether to approve additional access before work starts, rather than discover the gap after the repair is complete.
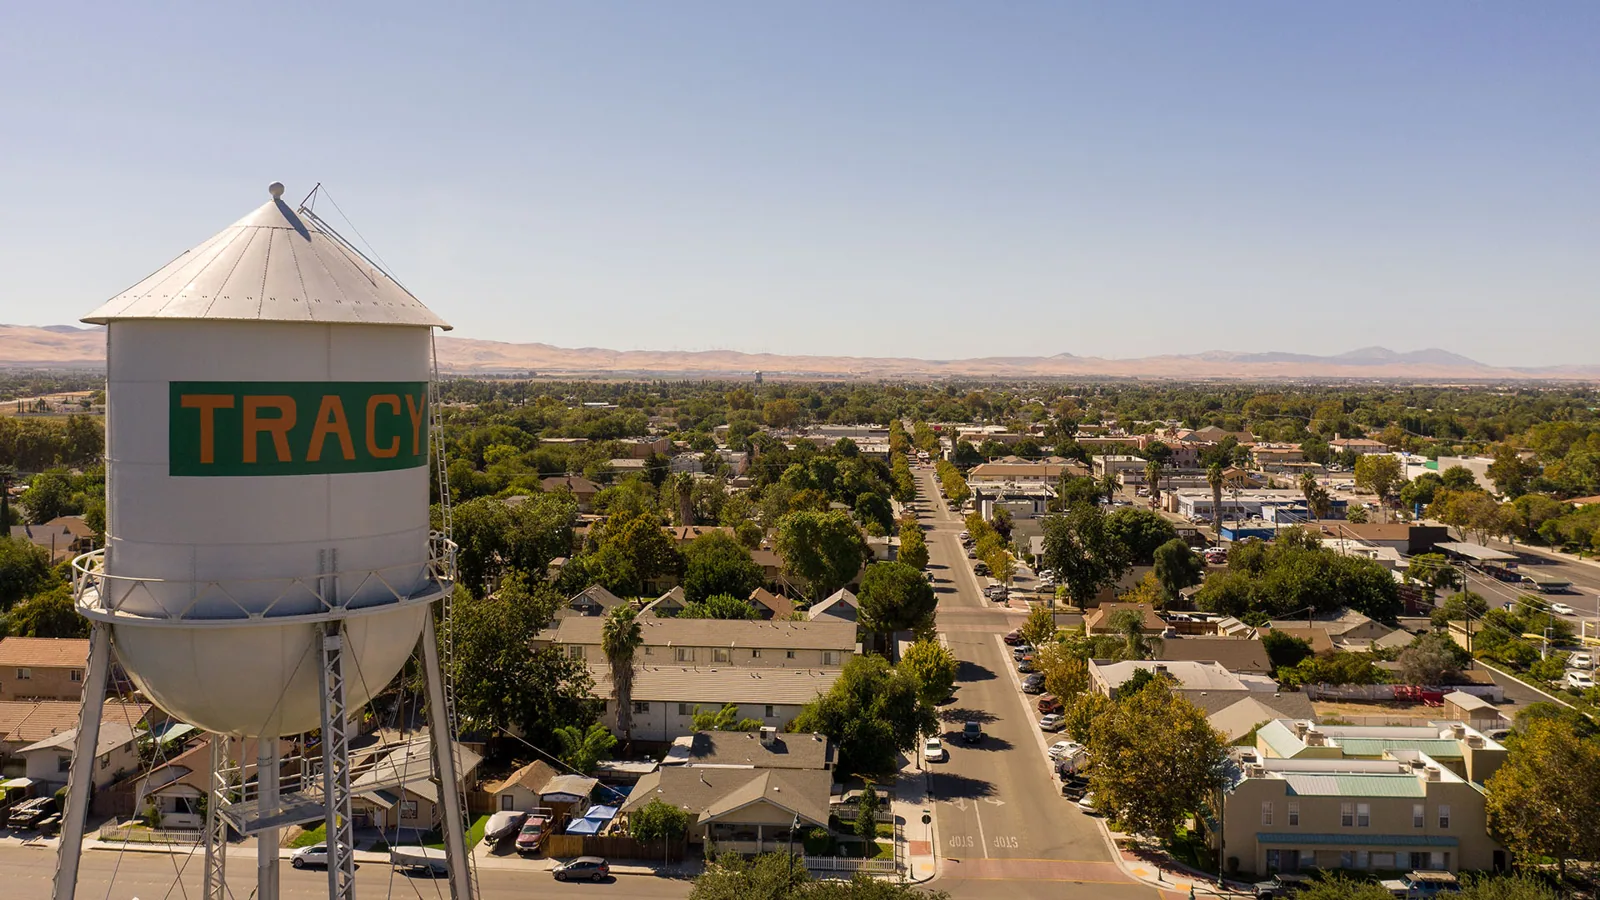
The company's home market publishes a climate table for Tracy, not for Lathrop: it uses Climate Zone 12 and a 101.2-degree two-percent design high. Keep that reference separate from Crossroads site conditions. Before adhesive or coating work, compare actual surface and ambient readings with product instructions and record the permitted work window.
Wind design in Tracy's criteria relies on site mapping and a risk classification rather than one marketwide speed. That guidance does not set attachment for Crossroads. Project documents and the selected assembly govern the building's perimeter details. Record visible edge conditions and resolve missing design inputs before releasing materials. A replacement review can check that drawings and proposed details align.
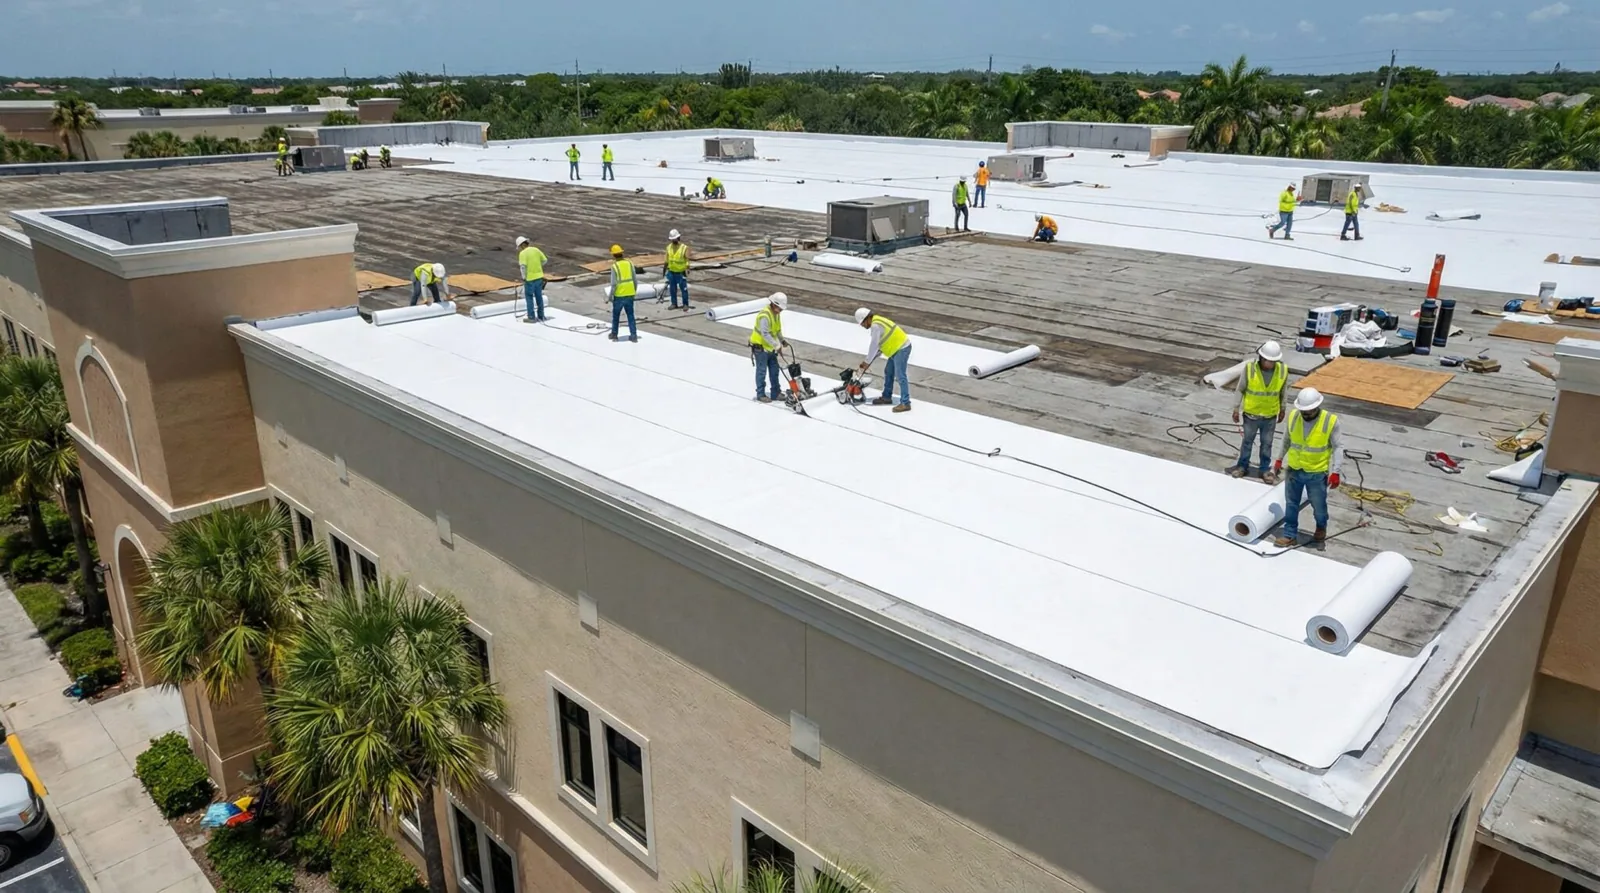
Before staging, agree on roof entry, delivery slot, storage, lift position, and routes that must stay open. Map the day's work zone and the tie-in to close before departure. The site contact can flag shift changes or equipment access. A phased reroof sequence sets protection and handoffs around the property's schedule.
Each shift log should note weather, crew access, work completed, materials used, exposed layers, and the temporary tie-in condition. Date photographs and mark them to the plan. If a condition changes after removal, pause at the agreed stop point and get owner approval before extending the scope. Emergency work may need a different sequence: our emergency response is available around the clock, including holidays, to address active exposure. Temporary protection should be identified separately from permanent repair so the closeout reflects the remaining work and the owner's next decision.
At completion, assemble the marked roof plan, dated photos, approved changes, product records, test results, and open items. Show where work ended, what detail was restored, and what was not inspected. If a City map or development agreement affected review, retain the owner's confirmation with project documents. The boundaries organize area context; field records establish roof conditions.
For future maintenance, use the closeout record as a baseline and add new observations by zone. Keep patch locations, drainage notes, access restrictions, and warranty obligations together so a later estimator can distinguish old work from a new condition. A photo-backed condition report can retain those distinctions for capital planning. Send the roof plan, repair tickets, access instructions, and the decision deadline when requesting a review. We can identify confirmed defects, note test limits, and prepare a work boundary the property team can evaluate. For multi-building portfolios, retain a separate baseline for each roof even when inspection dates coincide. A later ticket should reuse the building label and zone, allowing new observations at seams, drains, and curbs to be compared with the original record. That keeps a planning boundary from becoming a condition claim about every property.
No. It identifies the planning area's boundaries. A roof plan and on-site inspection are needed to record assembly, drainage, access, and defects for each property.
The planning boundary does not establish shared roof assemblies or maintenance histories. Separate diagrams keep observations, test results, and repair records tied to the correct property.
Record the access limit, suspected path, and the next approved inspection step. Keep that unresolved area outside the confirmed repair boundary until access or testing can settle it.
No. The published value is Tracy design context. A project-specific review uses applicable maps, risk category, project documents, and the selected assembly.
Keep the marked plan, dated photographs, materials, test results, approvals, completed limits, and open items together. That file gives the next inspection a usable baseline.